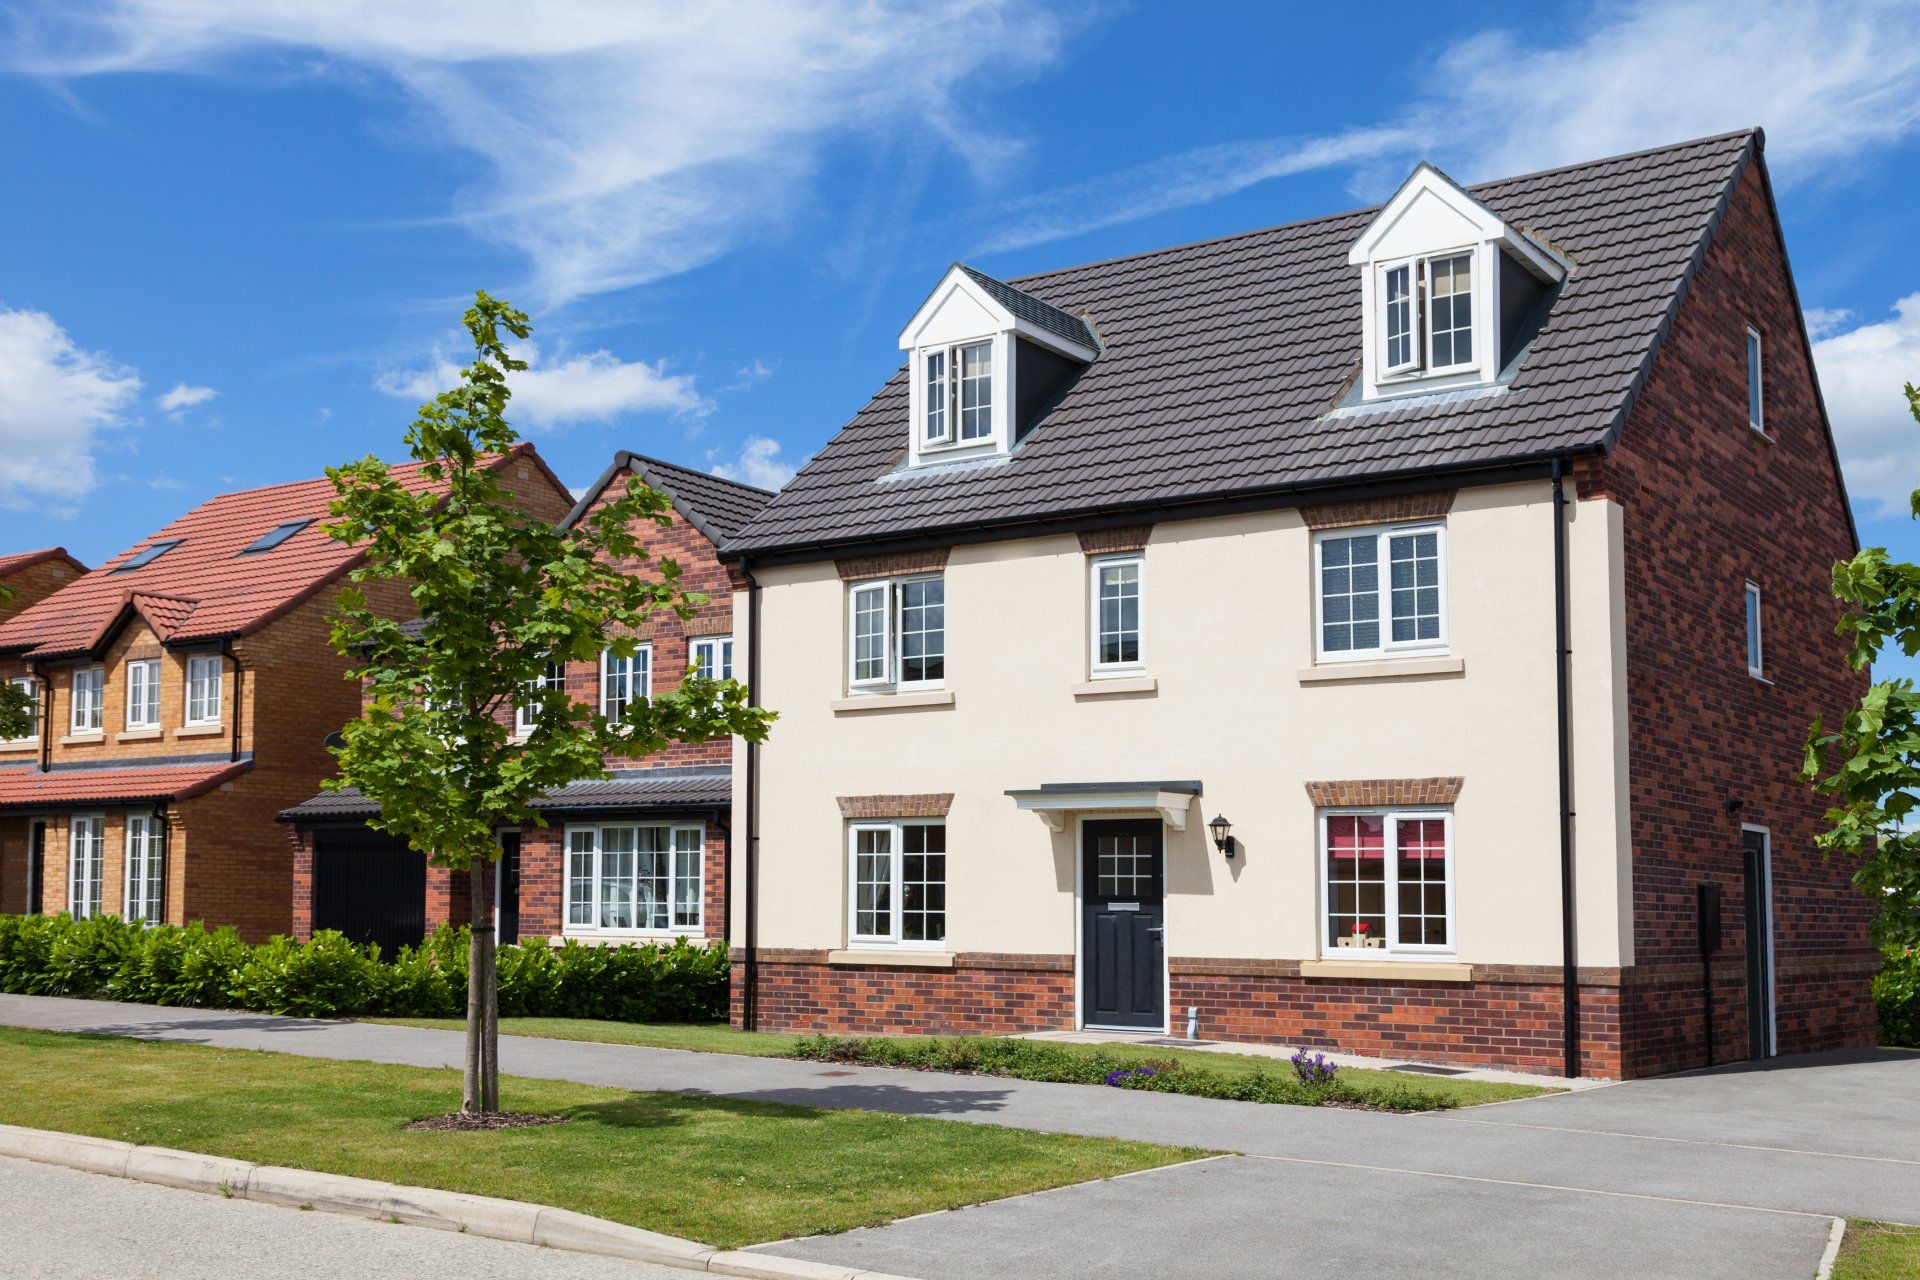
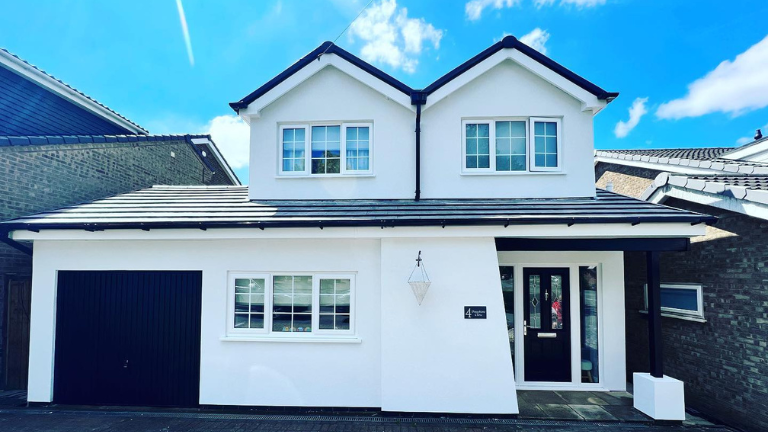
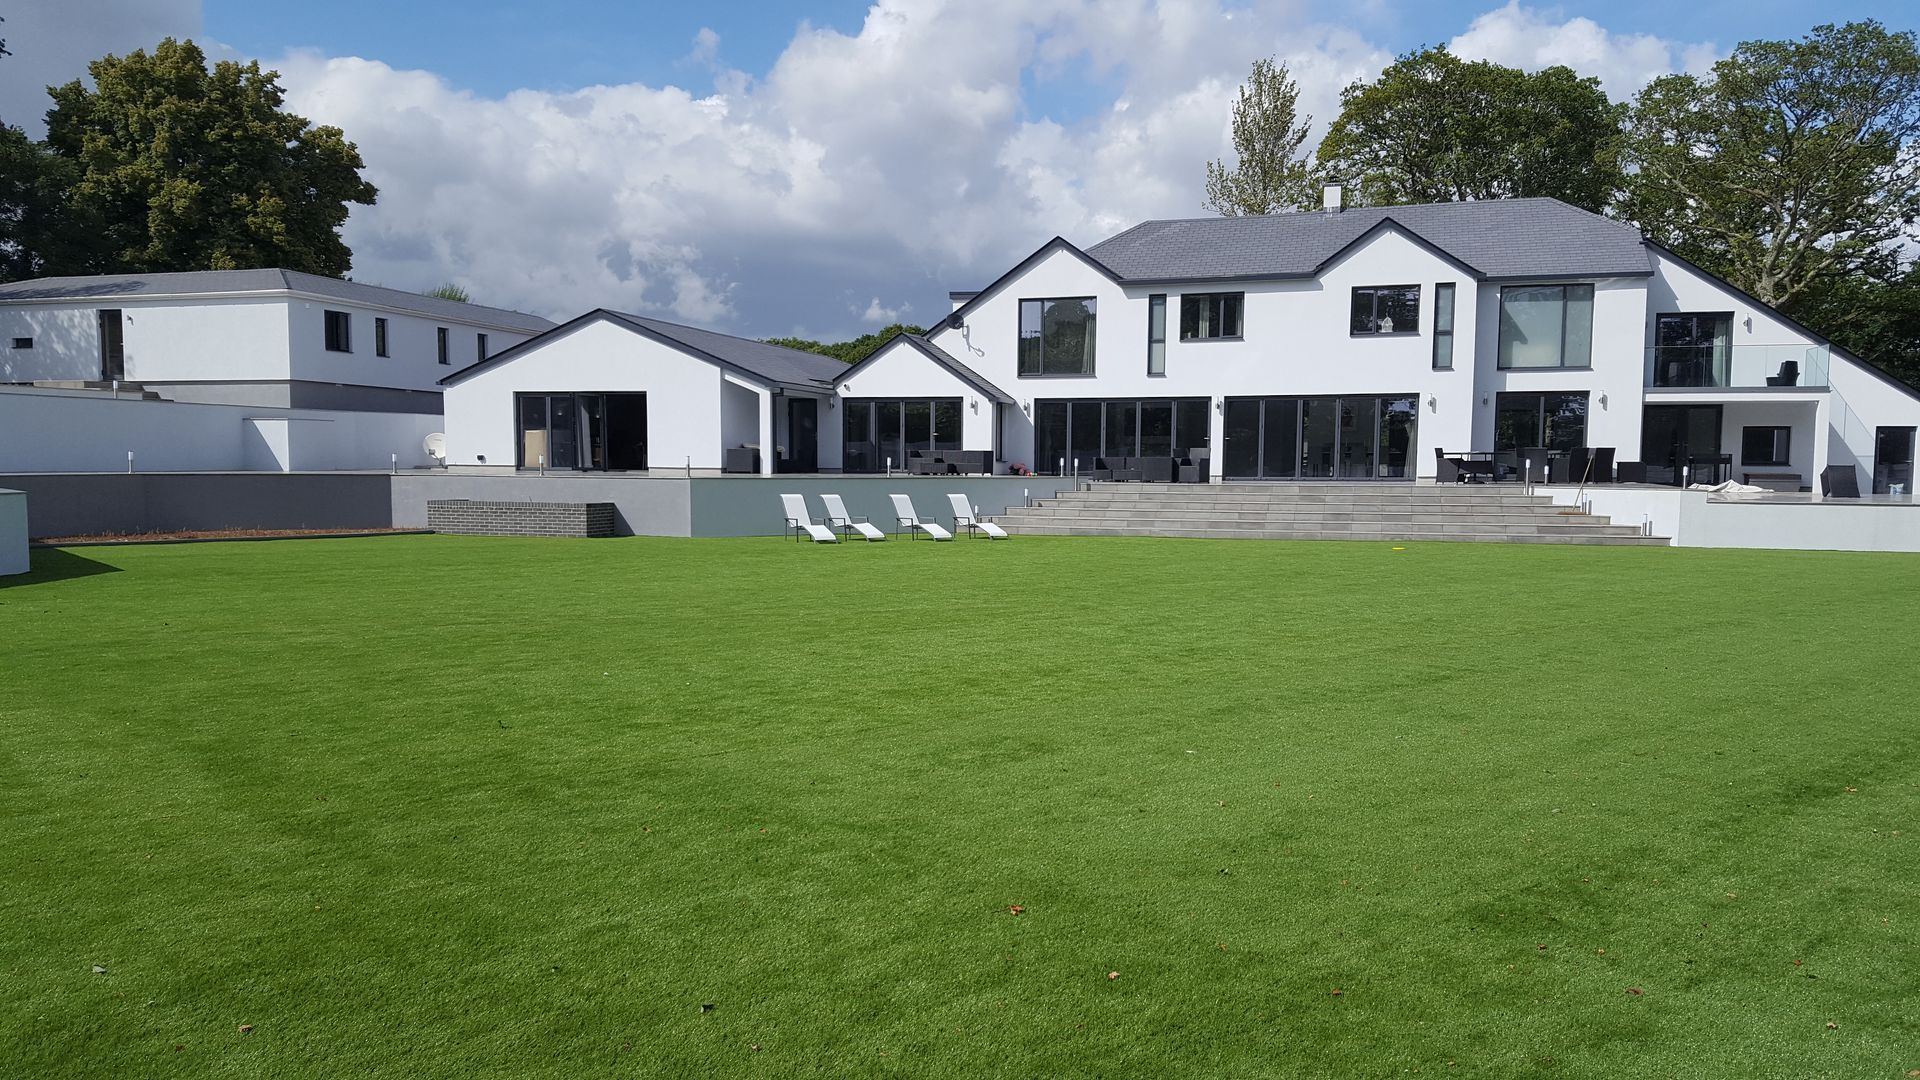
A Step-by-Step Guide to Applying JUB Silicone Renders
When considering the protection and visual enhancement of your building's exterior, look no further than our range of JUB silicone renders. These thin-coat render finishes, developed from a combination of silicone and other polymeric binders, bring more than just a textured or smooth appearance to your façade; they come with a host of advantages. To ensure a successful application of our JUB silicone renders, follow this comprehensive step-by-step guide.
Step 1: Surface Preparation
Before diving into the application process, it's important to prepare the surface thoroughly.
Here's what you need to do:
- Surface Roughness: Ensure the surface is slightly rough but not excessively so. Ideally, it should have the roughness of a conventionally smoothed fine render with a 1.0 mm granulation.
- Surface Solidity: Check the surface's solidity. It should have a compressive strength of at least 1.5 MPa (classified as CS II).
- Clean and Dry: The surface should be clean, dry and free from weakly bound particles, dust, easy water-soluble salts, oil stains and other contaminants.
Proper surface preparation is vital for achieving an even and long-lasting finish.
Step 2: Primer Selection
Select an appropriate primer based on the type of surface you're working with:
- For fine lime-cement plasters and ETIC system basecoats: Unigrund is recommended.
- For smooth, low-absorbing surfaces (e.g., concrete, fibre-cement boards): Opt for Akrinol SuperGrip.
Step 3: Application of Primer
Apply the chosen primer evenly to the surface using a paintbrush, masonry brush or a long-fibre fur or textile paint roller. Allow the primer to dry thoroughly before moving on to the next step. The drying time for Unigrund and Akrinol SuperGrip is on average 12 hours. Depending on weather conditions drying time can vary.

Step 4: Render Finish Application
Now, it's time to apply the JUB silicone render finish, a critical step that requires attention to detail and precision. Here's detailed instructions on how to execute this stage effectively:
Mix Thoroughly: Before application, thoroughly mix the render finish with an electric mixer. Ensure that the mixture has a uniform consistency. If necessary, you can dilute it slightly with water, but be cautious not to overdo it. Generally, a maximum of 100 ml of water per container is recommended for dilution. Proper mixing is crucial to achieve a smooth and consistent application.
Colour Shade Check: It's essential to verify that the render finish's colour shade matches your requirements. Additionally, it's a good practice to equalise the render finish. This means eliminating any slight differences in colour shade between individual buckets. To do this, stir the contents of four buckets together in a larger container of suitable size. By maintaining uniformity in colour, you'll ensure a seamless finish.
Application Method: The JUB silicone render finish can be applied using two primary methods - manual application with a stainless steel smoothing trowel or application by spraying. Both methods have their advantages, and the choice depends on your preferences and project requirements.
- Manual Application: When applying the render finish manually, use a stainless steel smoothing trowel. Start by applying the render finish evenly to the wall surface. Ensure that the thickness of the application is slightly above the diameter of the thickest grain in the mixture.
- Spraying Application: If you opt for spraying, follow the instructions provided by the manufacturer of the spraying equipment. This method can be highly efficient for covering larger areas quickly. Be sure to adjust the spraying equipment for the desired thickness and consistency of the application.
Smoothing: After applying the render finish, it's essential to smooth the surface promptly. This step is crucial for achieving an even and visually appealing finish. Here's how to do it:
- Immediately after application, use a solid plastic finishing trowel to smooth the surface.
- Employ circular strokes to work the render finish and create an evenly-grained structure. The goal is to achieve a uniform and aesthetically pleasing texture.
- Be careful not to move the grains excessively during smoothing to prevent material bulges in front of the trowel. Material bulges can result from either applying the render layer too thickly or working on an uneven or poorly prepared substrate.
- A few minutes after smoothing, lightly press any protruding lumps into the surface by gently using a clean stainless steel smoothing trowel. This final step ensures a flawless finish.
Efficient Working: During the application process, it's essential to work as swiftly as possible without interruptions. Begin at one corner of the wall and progress steadily toward the opposite corner. This approach ensures a continuous and consistent application.

Step 5: Weather Considerations
Choose suitable weather conditions for application. Ensure that both the air and wall surface temperatures are between +5 ºC and +35 ºC, with relative air humidity below 80%. While protecting the façade from sun, wind and rain with scaffold netting, refrain from working in the cases of heavy rain, fog or wind conditions (wind speeds of ≥30 km/h) despite protective measures.
Step 6: Clean-up and Safety
Clean your tools with water immediately after use. Dried stains cannot be removed. Dispose of waste materials responsibly, following local regulations. Safety precautions include wearing protective glasses or a mask when spraying the render finish.
By adhering to these comprehensive steps, you can achieve a successful application of our JUB silicone renders. For more detailed information on our silicone renders, feel free to explore our website or
get in touch with us. We're here to assist you in achieving the best results for your façade projects.


Why Silicone Render is the Best Choice for a Property’s Exterior: Benefits, Application & Aesthetics